
I am again participating in Leftovers International Print Exhibition organised by Wingtip Press, Boise, Idaho, USA. This will be my third year doing so, having already produced work for Leftovers IV and V. This is Leftovers VI, and instead of my usual linocut, I created this drypoint etching of a farmer ploughing a field in the Welsh countryside. I called it ‘Aredig’, Welsh for Ploughing. The exhibition features work from all over the World, so here’s a little piece of Wales to add to the mix.
I used a small off-cut piece of recyclable sheet acrylic , and drew my design onto it using a permanent marker. The marker pen hardly showed up black on black, and because the acrylic is opaque rather than clear, I couldn’t place my drawing behind and trace through, so I wasn’t sure how accurate I was being, and I was working in reverse too. I used a set of compasses as an tool to etch the surface of the acrylic, also using a little sandpaper in areas to create further tone. I relied on sideways lighting to see the marks I was making as it was really difficult to see what I was doing.
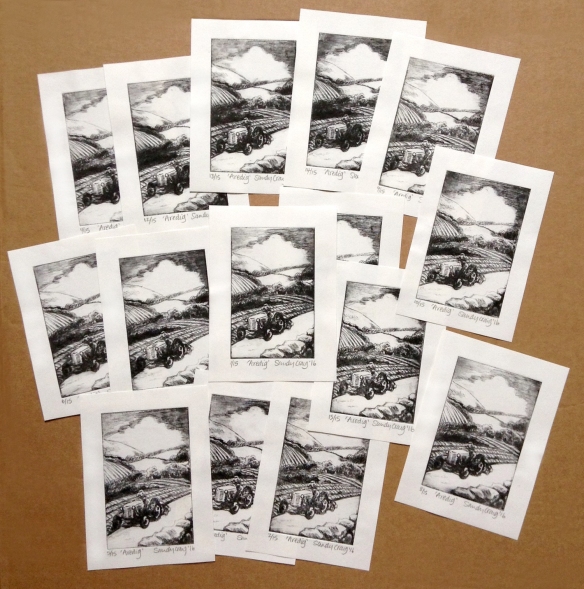
I did a series of rough proofs to reveal areas that needed further etching, then printed a small edition of 15. One was used for the front cover of Boise Weekly magazine, one will be shown at international venues in a touring exhibition, one will be auctioned to raise funds for Idaho Hunger Relief, and the other 12 will be sent to other participating artists.
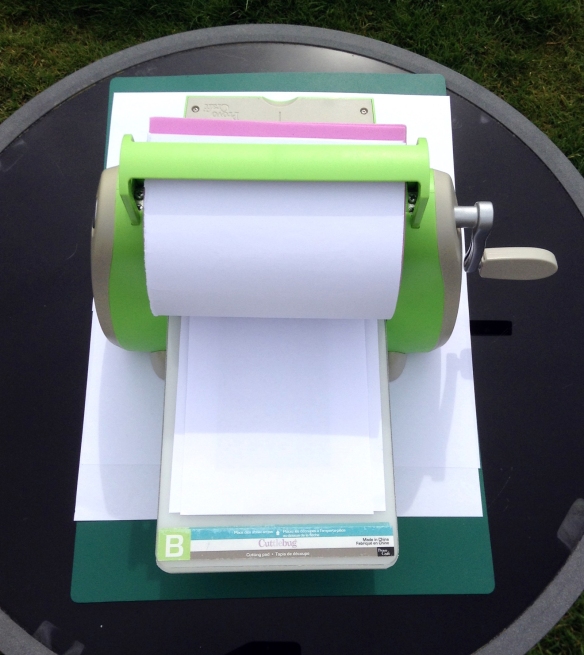
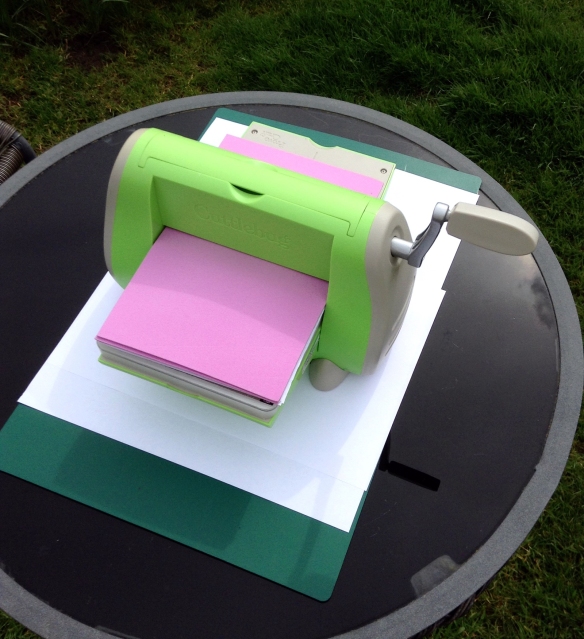
I have no etching press, so I improvised by using my little Cuttlebug die cutting machine, made by Provo Craft. It works on the same principle, with a metal roller turned by a handle. Here’s the process:
This is the tool that I used to create marks on the surface of the acrylic; a set of compasses wrapped with masking tape to make it easier to hold. The acrylic can be bought as offcuts from auction websites.

Sheet acrylic drypoint etched with an adapted set of compasses
Ink is rubbed into the marks that have been created on the surface of the acrylic, then the excess ink is rubbed off. I used Lawrence Linseed Oil Relief Printmaking Ink as I don’t have any intaglio ink. It worked really well, nonetheless.
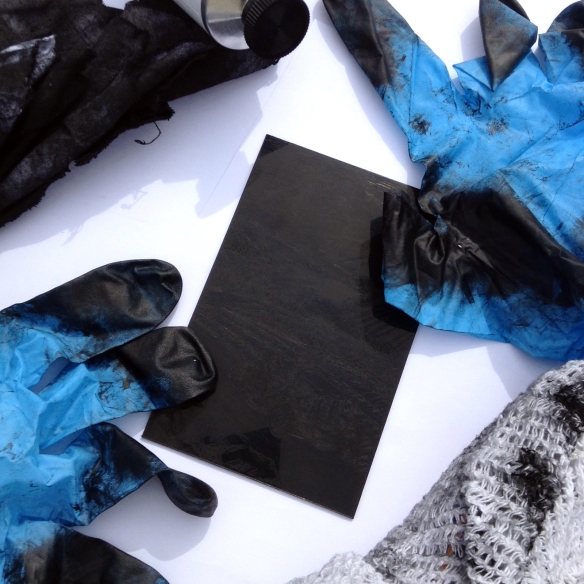
Linseed oil ink rubbed into the etched marks on the acrylic printing plate
The inked plastic etching plate is placed onto a sheet of paper that rests on top of the cuttlebug A and B plates.
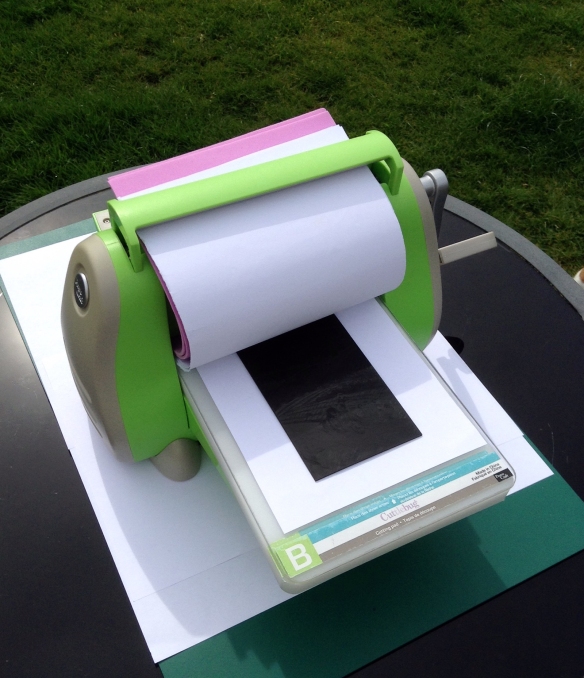
The Cuttlebug being used as an etching press
I pre-soaked some printmaking paper; when it was just damp I placed a sheet on top of the inked plate.
Damp paper laid on top of the inked plate
I then padded the top with sheets of scrap paper and some funky foam, and rolled it through the press by turning the handle.
Funky foam layers on top, then rolled through the press
The damp paper draws the ink out of the grooves. Et voilà!
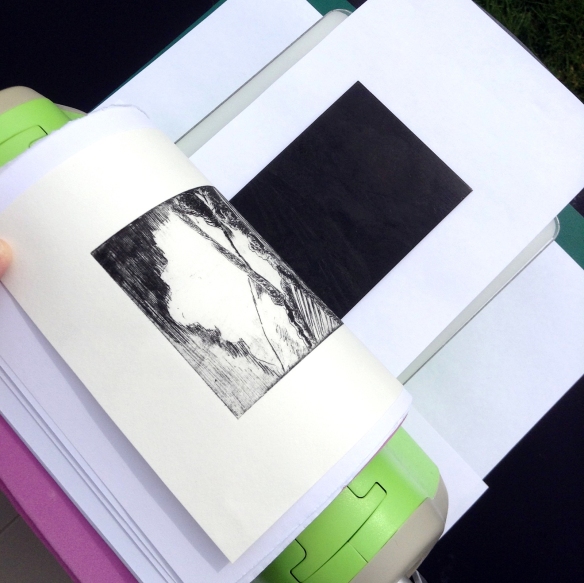
Printed drypoint etching
A Cuttlebug is a craft product, and is a fraction of the cost of an etching press. It works just fine for printing etchings and relief prints, however it is limited by its size, printing to a maximum of approximately 14 x 18 cms. It’s perfect for small scale work – I love etching this way. Etching has the quality of a drawing combined with the ability to reproduce it several times. Leave a comment and let me know what you think 🙂
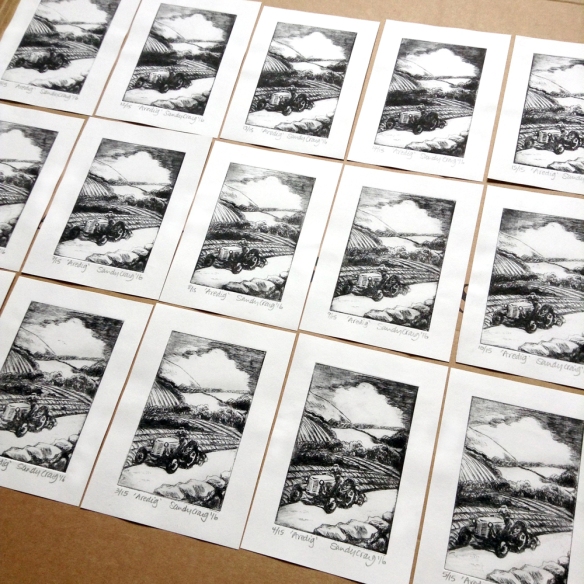
‘Aredig’ (Welsh for Ploughing)- an edition of 15. Sandy Craig 2016
We have this thing about Welsh printmakers. And we have a thing about Sandy Craig’s fine prints. Gorgeous!
Posted by Wingtip Press on Monday, 11 April 2016
